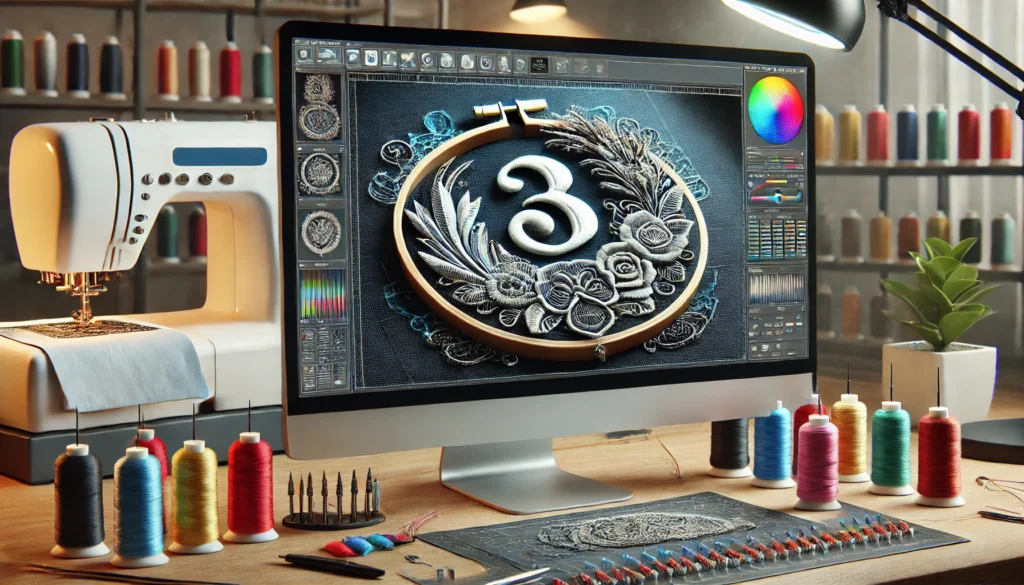
Want to make your embroidery designs stand out? Adding 3D effects to embroidery digitizing can elevate your designs, bringing depth and visual appeal that’s sure to capture attention. Learn essential tips and techniques to master 3D embroidery digitizing and create stunning, textured results.
Introduction
Embroidery digitizing has evolved far beyond flat, two-dimensional designs. With the rise of 3D effects in embroidery, designers can now create dynamic, textured patterns that add an extra layer of sophistication and appeal. Whether you’re an embroidery professional or an enthusiast looking to advance your skills, mastering 3D effects in embroidery digitizing will set your designs apart. It takes creativity, precision, and knowledge of specialized techniques to bring depth to your designs effectively.
In this guide, we’ll explore the essentials of 3D puff embroidery digitizing, uncover tips for using machine embroidery digitizing stitches, and explain how 3D techniques can transform any embroidery project. These strategies, supported by the right tools and a keen eye for detail, can help you achieve a polished, professional look in your designs.
Why 3D Embroidery Effects?
3D effects create a tactile, eye-catching quality in embroidery, making designs feel alive. The extra dimension draws attention and leaves a lasting impression when used in logos or decorative patterns. Here’s why adding 3D effects to your embroidery projects can be so impactful:
- Enhanced Texture: 3D effects bring out a textured quality, making designs stand out.
- Professional Appeal: Adds a level of sophistication to your work, ideal for branding and apparel.
- Versatility: Suitable for various applications, from caps to outerwear, allowing for broad creativity.
Getting Started with 3D Puff Embroidery Digitizing
Creating 3D puff embroidery involves unique digitizing techniques that emphasize raised effects. To get started, focus on choosing the right type of materials and settings.
- Select Suitable Materials: Sturdy fabrics and foam are essential for achieving optimal puff effects.
- Optimize Stitch Density: A higher stitch density helps maintain the shape and stability of 3D designs.
- Adjust Underlay Stitches: Proper underlay helps create a solid foundation, ensuring smooth edges and even puff.
Essential Techniques in Machine Embroidery Digitizing Stitches for 3D Effects
Using machine embroidery digitizing stitches effectively is key to achieving the right 3D effect. When implementing these techniques, make sure to adjust settings for consistency and quality:
- Layering Stitches: Layering stitch types, such as satin and fill, helps create depth and gives a fuller, more pronounced 3D appearance.
- Adjusting Stitch Angles: Varying the angles in your stitches can enhance shadows and highlights, adding to the depth.
- Utilizing Underlay: Underlay serves as the base for your stitches, ensuring a secure design that holds its 3D shape.
Key Tips for Perfecting Your 3D Embroidery Digitizing Techniques
To achieve consistent results in your 3D embroidery digitizing projects, follow these tips:
- Experiment with Foam Thickness: The right thickness for foam depends on the desired puff level; test different types to find the best fit.
- Use Tension Control: Proper tension in your machine ensures smooth stitches and prevents foam from shifting.
- Practice on Test Swatches: Experiment on small pieces of fabric to adjust settings and identify the best stitch patterns for your design.
Common Challenges and Solutions in 3D Embroidery Digitizing
Creating 3D embroidery isn’t without its challenges. From managing foam materials to handling intricate stitch settings, certain steps require precision:
- Issue: Foam Shifts During Stitching
- Solution: Secure foam with basting stitches to prevent movement.
- Issue: Stitch Gaps on Curves
- Solution: Increase stitch density on curved areas to maintain coverage.
- Issue: Uneven Edges
- Solution: Use a double underlay to create a solid base and avoid jagged edges.
Choosing the Right Digitizing Service
Many companies offer free digitizing services to streamline the process for those who may not have the time or resources to create intricate designs. Partnering with a reputable service provider, like Megri Digitising, ensures high-quality results and a professional finish. With their expertise, even complex designs can be accurately digitized, maintaining consistency and polish across every project.
Conclusion
Mastering 3D effects in embroidery digitizing is a skill that can elevate your designs, adding dimension and appeal that captivate audiences. You can create stunning embroidery that holds shape, depth, and visual impact by learning how to manipulate stitch density, layering techniques, and underlay choices. Experimentation and practice will enhance your understanding, allowing you to overcome common challenges and develop a professional-level skill set.
If you’re ready to bring a new dimension to your embroidery projects, consider working with an experienced service provider or learning more about advanced techniques on embroidery-focused learning platforms. To gain a comprehensive understanding of embroidery digitizing, read through a trusted website’s FAQs section to answer any lingering questions.
Enhancing your skills in 3D embroidery digitizing will open new creative possibilities, adding exceptional quality and impact to your designs.

